Create Decorative Frames from Recycled Fabrics A Step-by-Step Guide

Unleash Your Creativity with Recycled Fabrics
If you’re looking to add a personal touch to your home decor, consider transforming recycled fabrics into beautiful decorative frames. This eco-friendly project not only beautifies your space but also allows you to express your creativity while contributing to a more sustainable lifestyle. By using materials you already have, you create unique items that have their own stories. Beyond being a fun pastime, this initiative can foster a sense of accomplishment as you repurpose items that might otherwise end up in a landfill.
Benefits of Crafting with Recycled Fabrics
Using recycled fabrics for decorative frames offers numerous advantages:
- Cost-effective: Repurposing old clothes or fabrics cuts costs in crafting supplies. Instead of splurging on new materials, you can dive into your closet or storage bins, turning what would be waste into art.
- Eco-friendly: Reduces waste and promotes sustainability. Every year, millions of tons of textiles are discarded, contributing to environmental pollution. By utilizing these materials, you help diminish this statistic, demonstrating that craft can be a powerful tool for positive change.
- Unique Designs: Each piece will reflect your personal style. No two frames will look alike, as different patterns, textures, and colors merge to create a one-of-a-kind masterpiece.
Gathering your materials is easy. Look for:
- Old t-shirts or jeans that no longer fit or are stained beyond wear.
- Leftover fabric scraps from past sewing projects, which can be upcycled into striking designs.
- Faded table linens or curtains that can add a vintage charm to your frames.
With just a few basic supplies, including a frame, adhesive, and your chosen fabrics, you can create stunning pieces that stand out on your walls. To embark on your crafting journey, consider these steps:
First, prepare your frame by cleaning it thoroughly and removing any old decorations. Next, cut your chosen fabrics into strips or shapes that easily fit your design. You can experiment with layering and mixing different materials for a textured look. Apply a strong adhesive to the frame and gently press the fabrics onto it, ensuring you smooth out any bubbles for a crisp finish.
This step-by-step guide will lead you through the process, revealing tips and tricks along the way. For instance, using a fabric stiffener can help retain the shape of your new artwork. You could also embellish with buttons or beads for added flair. Once you finish, hang your frame in a prominent spot to showcase your handiwork.
Discover how to give new life to your discarded fabrics and impress your friends and family with your handmade decor. The journey of crafting customized decorative frames awaits, allowing you to transform waste into wonderful art that conveys your creativity and values. Engage in this DIY endeavor and watch how it inspires others to join the movement toward sustainable crafting!
CHECK OUT: Click here to explore more
Gathering Your Supplies: What You’ll Need
Before diving into the creative process of crafting your decorative frames, it’s essential to gather the right supplies to ensure a smooth and enjoyable crafting experience. The good news is that many of the materials you need may already be lying around your home, waiting to be transformed into something beautiful.
Here’s a comprehensive list of materials you will need:
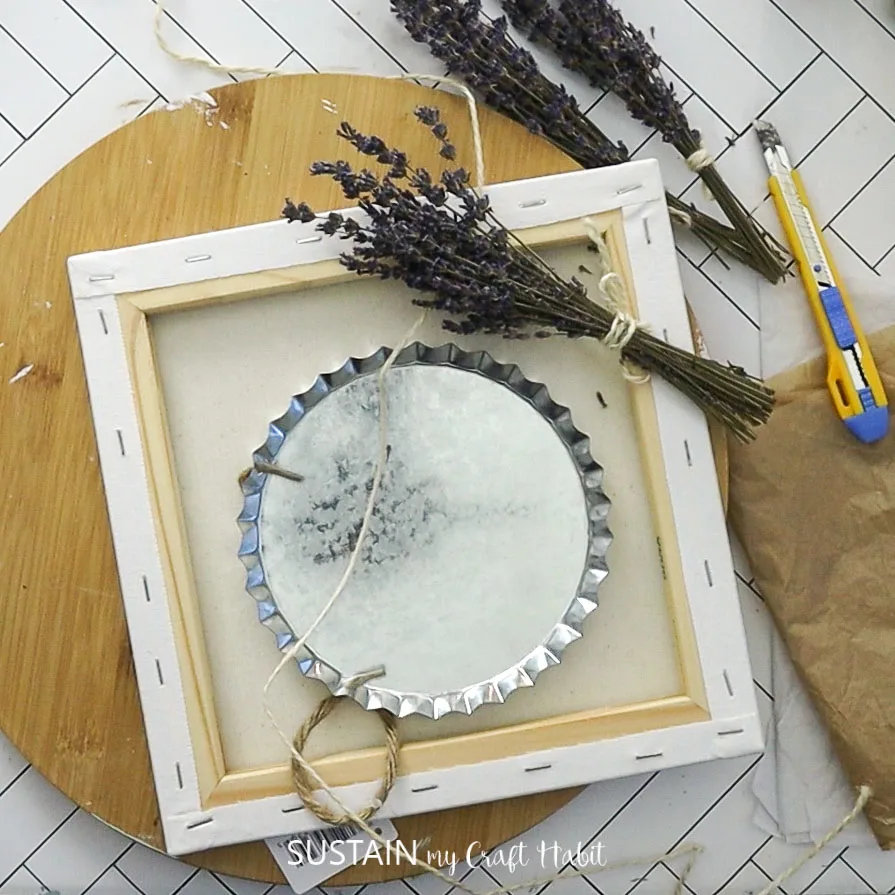
- Picture Frames: Start with basic frames that can be found in thrift stores, garage sales, or even your attic. Look for various sizes and shapes, which will add diversity to your display.
- Recycled Fabrics: As mentioned earlier, scour your wardrobe or nearby storage for old clothing, fabric scraps, or even unused table linens. Each piece of fabric can add a unique touch to your design.
- Adhesive: A strong craft glue, fabric glue, or decoupage glue will be necessary for adhering the fabrics to the frame. Make sure it dries clear for a polished finish.
- Scissors: Sharp fabric scissors are essential for clean and precise cuts. Invest in a fabric cutter to make the job easier if you plan on doing a lot of crafting.
- Paint (Optional): If you want to start with a blank canvas, consider painting your frames in a color that complements your fabrics.
- Embellishments (Optional): Buttons, beads, or sequins can serve as eye-catching additions to your finished frame, enhancing its decorative appeal.
With your materials ready, you can approach this project with creativity and excitement. The process begins with preparing your workspace. Ensure you have a clean, flat surface where you can easily access all your materials. Lay down a protective covering, like newspaper or a plastic sheet, to safeguard your table from any glue spills or paint drips.
Choosing Your Fabric: Tips for Selection
Choosing the right recycled fabrics can significantly impact the final look of your decorative frames. Here are some tips to help you select fabrics that will ensure a stunning result:
- Color Coordination: Aim for fabrics that complement each other in color to maintain a cohesive design. Fabrics with similar tones will create harmony, while those with contrasting colors can add an exciting pop.
- Patterns and Textures: Mixing patterned fabrics with solid colors can create visual interest. Consider incorporating different textures, like denim, silk, or cotton, to add dimensionality to your frames.
- Size Consideration: Measure the areas of the frame you want to cover and cut your fabrics accordingly. Different pieces can be layered for added depth.
Now that you’ve gathered your supplies and selected your fabrics, you’re ready to embark on the rewarding journey of creating decorative frames that not only beautify your environment but also promote sustainable artistry. With each step of the crafting process, you’ll witness how recycled materials can transform into eye-catching decor, telling stories of their previous lives while embracing a new purpose. Let’s move on to the next stages of this fulfilling project.
Creating Beautiful Frames: A Journey of Creativity and Sustainability
As we delve deeper into the world of upcycling, let’s explore the step-by-step process for crafting decorative frames using recycled fabrics. This not only supports environmental sustainability but also allows for personal expression in home decor.
The Materials You’ll Need
Gathering the right materials is crucial for your project. You’ll need:
- Recycled fabrics: Old clothes, linens, or leftover fabric scraps work wonderfully.
- Wooden frames: You can use vintage frames or purchase inexpensive ones.
- Adhesives: Fabric glue or mod podge for sticking the fabric to the frame.
- Scissors: Sharp fabric scissors for precise cutting.
- Decorative elements: Ribbons, buttons, or beads for added flair.
Step-by-Step Process
- Select your frame: Choose a wooden frame in a size that fits your desired picture, or go bold with multiple small frames.
- Prepare your fabric: Cut your recycled fabrics into strips or shapes that can be easily applied to the frame.
- Adhere the fabric: Apply glue to the frame, and carefully place the fabric pieces onto it. Be creative with patterns for an eye-catching look.
- Add embellishments: Once the basic fabric is attached, enhance your creation with decorative elements to showcase your individuality.
- Finish and display: Allow to dry completely, then find the perfect spot in your home to exhibit your new decorative frame!
This project not only beautifies your living space but also breathes new life into forgotten textiles. As you create, remember the positive impact you’re making by reducing waste and embracing creativity. For a clearer understanding, let’s take a look at the advantages of this innovative crafting initiative in the table below.
| Category 1 | Category 2 |
|---|---|
| Eco-Friendly Crafting | Utilizes waste materials, contributing to a sustainable lifestyle. |
| Personalized Decor | Every frame reflects your style, allowing for unique home decoration. |
By embracing these steps, you’re not only engaging in a fun and fulfilling project but also contributing to a larger movement towards sustainability and creativity. Each decorative frame you create tells a story, transforming discarded fabrics into cherished pieces of art for your home.
CHECK OUT: Click here to explore more
Crafting Your Decorative Frames: A Step-by-Step Process
Once you’ve gathered your supplies and selected the perfect recycled fabrics, it’s time to dive into the crafting process. Transforming ordinary picture frames into decorative pieces of art is both an engaging and innovative way to showcase your creativity while promoting sustainability. Here’s how to start:
Step 1: Prepare Your Frames
Before applying any fabric, it’s essential to prepare your picture frames adequately. Start by cleaning them to remove any dust or residues that could interfere with the adhesion process. If the frames are outdated or too worn for your liking, consider giving them a fresh coat of paint. Choose a color that either harmonizes with or contrasts your selected fabrics—this will serve as the perfect backdrop for your design.
Step 2: Cut Your Fabrics
As your frames dry, it’s time to cut your fabrics to the desired sizes. Measure the sections of the frame you’d like to cover, and then cut your fabrics accordingly. For a diverse and layered appearance, consider cutting different shapes—like triangles, circles, or rectangles—rather than uniform pieces. This method not only enhances visual interest but also becomes a perfect opportunity to showcase your creativity.
Step 3: Adhere the Fabrics
Once you’re satisfied with your fabric pieces, it’s time to start adhering them to your frames. Using a brush or sponge, apply a generous layer of your chosen adhesive to the frame’s surface where the fabric will be placed. It’s wise to work section by section, ensuring an even application for a neat finish.
- Positioning: Carefully lay your fabric piece over the adhesive layer, smoothing it outward to eliminate air bubbles and wrinkles. If necessary, use a craft knife to trim any overlapping edges after the fabric is securely in place.
- Seal the Edges: For a polished look, fold the edges of your fabric around the sides of the frame and adhere them to the back as well. This technique not only finishes the look but also adds durability to your creation.
Step 4: Adding Embellishments
To elevate your decorative frame further, consider incorporating embellishments. Buttons, beads, or sequins can add character and flair to your design. Arrange these accents creatively, either symmetrically for a more traditional style or asymmetrically for a bold statement. Use fabric glue to securely attach these embellishments, ensuring a cohesive look that captures attention.
Step 5: Finishing Touches
Allow your frames ample time to dry completely before hanging or displaying them. If you painted your frames, make sure the paint is fully cured, as this process enhances durability. Additionally, consider applying a clear sealant over your fabric for further protection against wear and tear—this step is especially crucial if your frames will be placed in high-traffic areas.
By following these steps, you’ll transform your recycled fabrics into stunning decorative frames, igniting a sense of pride in your eco-conscious innovation. Each frame tells a story, showcasing the beauty of reusing materials in a creative way. Whether adorning your own home or gifting these unique creations, the process emphasizes not only style but also sustainability, resonating with an increasingly eco-aware society. Now, let your imagination run wild as you create more frames and discover the endless possibilities of crafting with recycled fabrics!
CHECK OUT: Click here to explore more
Conclusion
Creating decorative frames from recycled fabrics is not just a fun and engaging crafting activity; it’s an incredible opportunity to blend creativity with environmental consciousness. By repurposing materials that may otherwise end up in landfills, you embrace a sustainable lifestyle while adding a personal touch to your home decor. The steps outlined in this guide—from preparing your frames to adding embellishments—invite you to explore your artistic flair and express your unique style.
Moreover, each decorative frame serves as a conversation starter and a testament to your commitment to sustainability. These frames not only beautify your space but also showcase the artistry of reusing materials. Given the growing trend towards eco-friendly practices, your creations resonate with a broader movement, encouraging others to reckon with their consumer habits and seek out greener alternatives.
As you embark on this crafting journey, remember that the possibilities are virtually endless. Experiment with various fabric patterns, colors, and embellishments to create truly one-of-a-kind pieces. Consider collaborating with friends or community groups to host a fabric frame-making workshop, stimulating creativity while fostering connections. Whether you display your completed frames in your home or give them as thoughtful gifts, you’re sure to inspire others to think more sustainably.
In conclusion, taking the time to create decorative frames from recycled fabrics not only brings joy and beauty into your life but also aligns with a world that increasingly values eco-responsibility. So gather your materials, unleash your imagination, and enjoy the rewarding process of crafting something beautiful from what was once deemed waste.
Related posts:
Discover the Relaxing Hobby of Drawing Mandalas A Guide to Stress Relief
DIY Hand-Painted Decorative Vases Add Artistic Flair to Your Home
How to Decorate Mirrors with Handmade Frames DIY Craft Ideas
Fabric Painting Techniques for Creating Custom Pillows
Simple Soap Carving Techniques for a Creative Hobby Journey
Creative Fiber Hobbies From Macramé to Modern Knitting Trends

Linda Carter is a writer and creative hobbies expert specializing in crafting, DIY projects, and artistic exploration. With extensive experience helping individuals discover their creative potential and bring their ideas to life, Linda shares her knowledge on our platform. Her goal is to empower readers with practical tips, inspiring ideas, and step-by-step strategies for success in the world of creative hobbies.