Create Stunning Glass Art Using Permanent Markers A Step-by-Step Guide
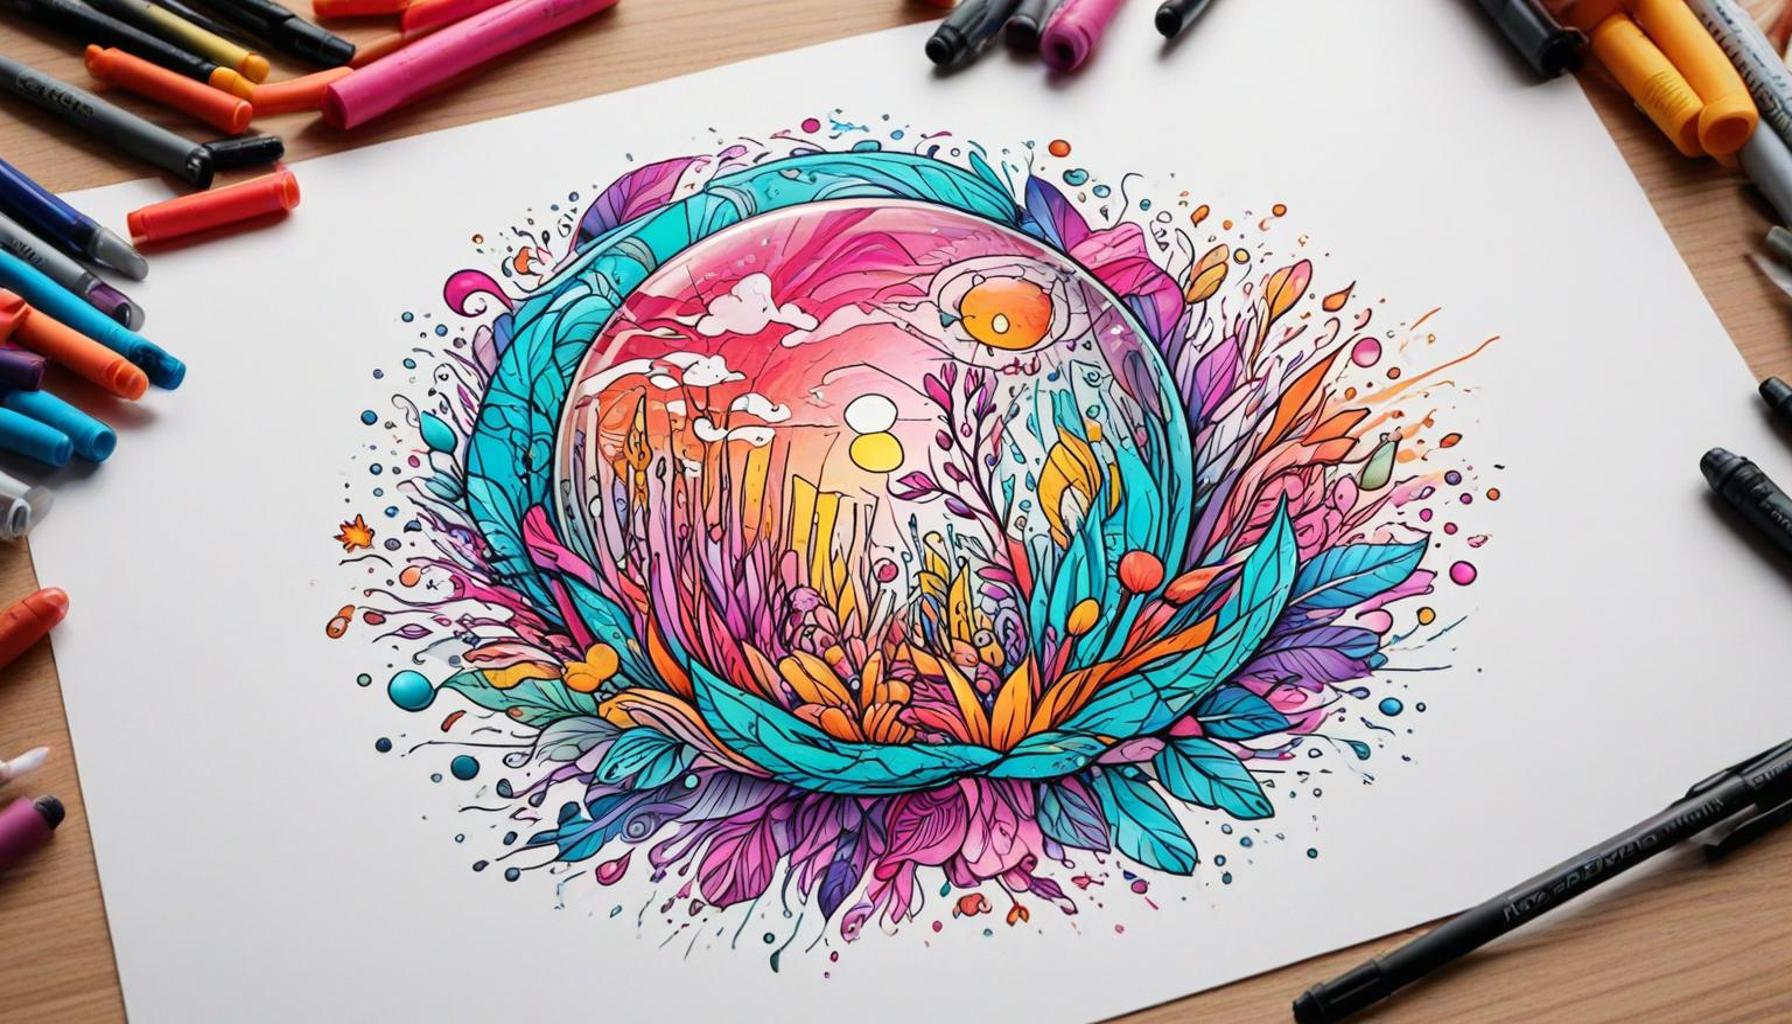
The Allure of Glass Art
In recent years, glass art has undergone a remarkable renaissance, becoming a favored medium for both hobbyists and professional artists alike across the United States. The art form has diversified, with traditional glassblowing techniques being complemented by innovative methods that allow for personal expression and creativity. Among these modern techniques, the use of permanent markers has emerged as a groundbreaking approach, making glass art accessible to a wider audience.
Why Opt for Permanent Markers?
Permanent markers serve not just as tools but as gateways into the world of glass art. Here are some compelling reasons you should consider them for your next project:
- Accessibility: One of the most attractive features of permanent markers is their affordability. Priced typically between less than a dollar to a few dollars each, they are easily found in craft stores, art supply shops, or even local supermarkets. This widespread availability ensures that aspiring artists can find the colors they want without breaking the bank.
- Diverse colors: The spectrum of colors available in permanent markers is astounding. From brilliant reds and greens to understated pastels, there’s a shade to suit every artistic vision. Notable brands offer specialty colors, including metallics and neon options, which can add a unique touch to your glass pieces.
- Ease of use: The user-friendly nature of permanent markers makes them ideal for artists of all skill levels. You don’t need a paintbrush or advanced techniques to create stunning designs; simply draw directly on the surface of the glass for an immediate burst of creativity.
Creating Your Masterpiece
So, how do you transform a standard glass item into a captivating work of art? This guide outlines the essential supplies and steps necessary for your glass art journey.
- Essential supplies: Gather materials such as plain glass surfaces (like jars, bottles, or panes), a variety of permanent markers, rubbing alcohol to clean the glass, paper towels, and a protective sealant if you want to enhance the durability of your designs.
- Step-by-step instructions: Start with a clean glass surface for optimal adhesion of the markers. Lightly sketch your design with a pencil if you feel more comfortable planning ahead. Once satisfied, use your chosen permanent markers to carefully fill in your design. Experiment with layering colors and techniques such as dots, lines, or shading to enrich your artwork.
- Tips for durability: After your design is complete, allow it to dry for a few hours. To increase its longevity, consider applying a clear acrylic sealant spray, which will help protect your design against scratches and fading. Additionally, handwashing is recommended over dishwasher cleaning to ensure your artistic efforts remain intact.
Final Thoughts
The world of glass art using permanent markers is as limitless as your imagination. Whether you’re crafting a whimsical gift for a friend or creating a striking centerpiece for your home, this technique invites exploration and personal expression. Dive into this exciting creative outlet and discover how simple tools can transform ordinary glass into extraordinary pieces that reflect your unique artistic vision.
SEE ALSO: Click here to read another article
Embarking on Your Glass Art Journey
When venturing into the realm of glass art using permanent markers, it’s essential to begin with a solid foundation. Understanding your supplies and the necessary preparation steps can set you up for success. This engaging creative outlet encourages self-expression, allowing anyone from novice hobbyists to seasoned artists to explore their imaginative potential.
Picking the Perfect Glass Surface
The first step in your glass art adventure is choosing the right canvas. While many might think of traditional glass pieces, the options are virtually limitless. Here are some popular glass items that work exceptionally well for marker art:
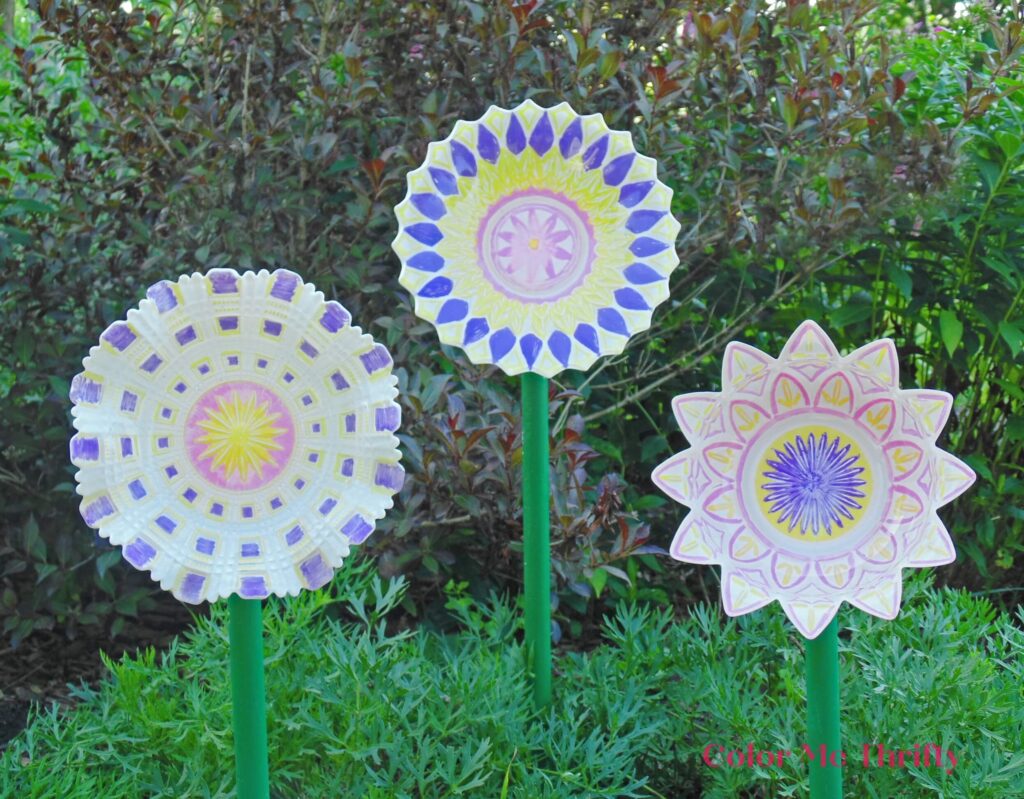
- Glass jars: Ideal for creating beautiful storage containers, these jars can easily transform into eye-catching pieces for your kitchen or workspace.
- Picture frames: Customize plain picture frames for a stunning personal touch, turning them into unique displays for your cherished photographs.
- Wine glasses: A perfect way to add flair to gatherings, personalized wine glasses can serve as delightful conversation starters.
- Vases: Enhance the charm of your floral arrangements by designing one-of-a-kind vases that complement your style.
Preparing Your Workspace
The next crucial step is to create an inspiring workspace that facilitates creativity. Here’s how to set it up:
- Choose a clean and well-lit area: A clutter-free space helps minimize distractions, while good lighting is essential for accurately applying your designs.
- Protect surfaces: Use newspapers or a plastic tablecloth to safeguard your work area from any potential marker stains.
- Gather your supplies: Have all your materials on hand, including your chosen permanent markers, rubbing alcohol, and paper towels. This preparation makes the process smoother and more enjoyable.
Cleaning the Glass Surface
Before diving into the design process, proper cleaning is paramount. A clean glass surface ensures that your artwork adheres well and lasts longer. Here’s how to do it:
- Use rubbing alcohol: Soak a paper towel in rubbing alcohol and wipe down the entire glass surface. This removes any dirt, grease, or fingerprints that could interfere with the markers’ adhesion.
- Dry thoroughly: Make sure to let the glass dry completely before starting your artwork. Any residual moisture can affect the marker’s application.
Taking time to prepare effectively not only enhances the quality of your finished product but also amplifies your overall experience as an artist. Each step, from selecting the right glass surface to ensuring a clean workspace, plays a vital role in bringing your vision to life.
Creating stunning glass art using permanent markers is not only a fun and creative activity but also a fantastic way to personalize your household items. In the second part of our guide, we’ll delve into the practical steps and tips you need to ensure your glass art turns out beautifully.
| Design Process | Creative Techniques |
|---|---|
| Sketch your ideas | Use various marker tips for different effects |
| Choose your color palette | Layer colors for depth and dimension |
| Practice your strokes | Seal with a clear coat for longevity |
Begin by sketching your ideas on paper. This step allows you to visualize your final design before committing to the glass. Select a color palette that resonates with you; vibrant hues can transform ordinary glassware into stunning pieces of art. Remember, practice is essential! Try different strokes and techniques to find what works best for your artistic expression.
Once you’ve completed your designs, consider applying a clear sealant to protect your artwork. This step not only enhances durability but also gives your glass art a professional finish. With these tips, you will be well on your way to creating impressive glass art that showcases your unique creativity.
CHECK OUT: Click here to explore more
Bringing Your Imagination to Life
With your workspace clean and ready, it’s time to channel your creativity and begin the artistic process. Designing on glass allows for a unique blend of colors and patterns that can elevate ordinary items into extraordinary masterpieces. Here’s a detailed guide to help you navigate through the exciting world of glass art with permanent markers.
Designing Your Artwork
When it comes to designing your glass art, the possibilities are endless. Here are some tips to help inspire your creativity:
- Sketch first: Before applying the permanent markers directly onto your glass surface, take some time to sketch your design on a piece of paper. This can help you visualize how your artwork will look and allows for adjustments before marking the glass.
- Consider layering: Acrylic layers can add depth to your artwork. Consider painting a base layer in a lighter shade and layering darker colors or intricate designs on top.
- Utilize stencils: If you feel less confident in your freehand abilities, stencils can be a game-changer. They ensure precision and consistency, particularly for complex patterns or lettering.
For those looking for a touch of nature, floral designs, geometric patterns, or even abstract art can set a serene atmosphere, perfect for home décor or gifting options.
Applying the Permanent Markers
Once your design is settled, it’s time to grab those markers. Here’s how to apply them effectively:
- Select quality markers: Not all permanent markers are created equal. Opt for high-quality brands that are known for their vibrant colors and durability. Brands like Sharpie and Posca are popular choices among artists.
- Work in sections: Instead of working on the entire piece at once, focus on one section at a time. This allows for precise application and prevents mistakes caused by accidentally smudging wet ink.
- Experiment with techniques: Permanent markers can be versatile. Try out techniques like dotting, stippling, or blending colors for a dynamic effect. Don’t hesitate to mix and match—this is your artistic expression!
Finishing Touches and Curing Your Artwork
After you’ve completed your artwork, it’s time to let it shine and set it for longevity:
- Let your art dry: Ensure to allow adequate drying time—usually around 24 hours—before handling or displaying your glass piece. This ensures that the markers set properly and do not smudge.
- Seal your creation: To protect your masterpiece, consider applying a sealant designed specifically for use on glass. This extra step enhances durability and can make your design even more vibrant.
- Showcase your work: Finally, display your creations proudly! Whether you hang a decorated glass frame or utilize your artistic wine glasses during dinner celebrations, each piece will not only highlight your artistic talent but also become a conversation starter.
Taking your time and infusing personal touches into your glass art will ensure that each piece is uniquely yours. Armed with these tips on designing, applying, and finishing your glass art using permanent markers, you’re well on your way to creating beautiful, lasting works that resonate with your artistic vision.
SEE ALSO: Click here to read another article
Final Thoughts on Creating Stunning Glass Art
Creating stunning glass art with permanent markers is not only a thrilling artistic endeavor but also an opportunity to explore your creativity in a vibrant medium. By combining a variety of techniques such as sketching designs, utilizing stencils, and exploring different application methods, you can transform ordinary glass into eye-catching pieces that reflect your unique style. The versatility of permanent markers allows for a broad spectrum of artistic expression, whether you choose to go bold with abstract designs or subtle with intricate patterns.
As you finish your glass artworks, remember that proper care, such as curing and sealing, is essential for longevity and vibrancy. This will ensure that your masterpieces can be appreciated for years to come, whether they’re used as decor or given as heartfelt gifts.
Moreover, engaging in glass art not only fosters creativity but can also serve as a meditative practice, offering a wonderful escape from daily stresses. With each completed piece, you contribute a personal touch to your surroundings, enhancing your space and inviting conversation.
So gather your supplies, ignite your imagination, and embark on this colorful journey. The world of glass art awaits you, and with the knowledge gained from this guide, you are equipped to create pieces that are truly remarkable. Don’t hesitate to share your creations and inspire others in their artistic pursuits. Happy crafting!
Related posts:
How to Create a Solo Collaborative Art Mural A Step-by-Step Guide
Master Watercolor and Ink Craft Unique Illustrations Easily
Creating Timeless Art Collage With Vintage Magazines for Beginners
Exploring Creative Photography as a Personal Hobby Art
Creating Stone Art Painting Techniques and Inspiration Guide
Creating Art with Markers Techniques and Inspiration Guide

Linda Carter is a writer and creative hobbies expert specializing in crafting, DIY projects, and artistic exploration. With extensive experience helping individuals discover their creative potential and bring their ideas to life, Linda shares her knowledge on our platform. Her goal is to empower readers with practical tips, inspiring ideas, and step-by-step strategies for success in the world of creative hobbies.